Adding ‘Mailbox Import Export’ Role to 365 Admin Account
Before we can get started. The 365 Admin account will need permissions added to it in order to gain access to additional options within the Compliance portal.
The Admin account will not have these permissions by default. It needs to be added manually. Once added, it will take up to 24 hours for the changes to take affect and the additional settings to appear.
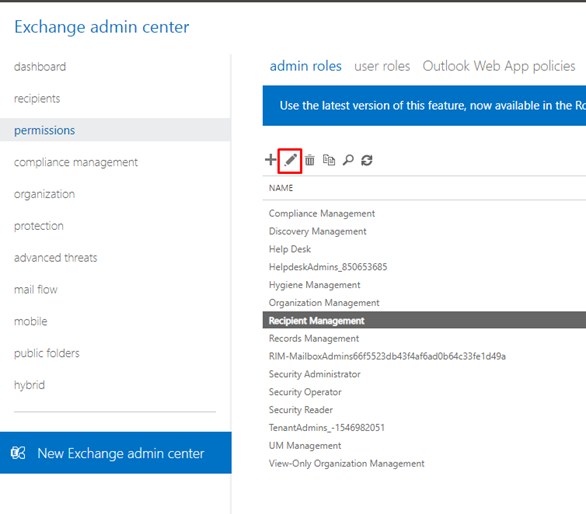
Go to Classic Exchange Admin Center
Go to Permissions -> Select ‘Recipient Management’ then press the edit icon.
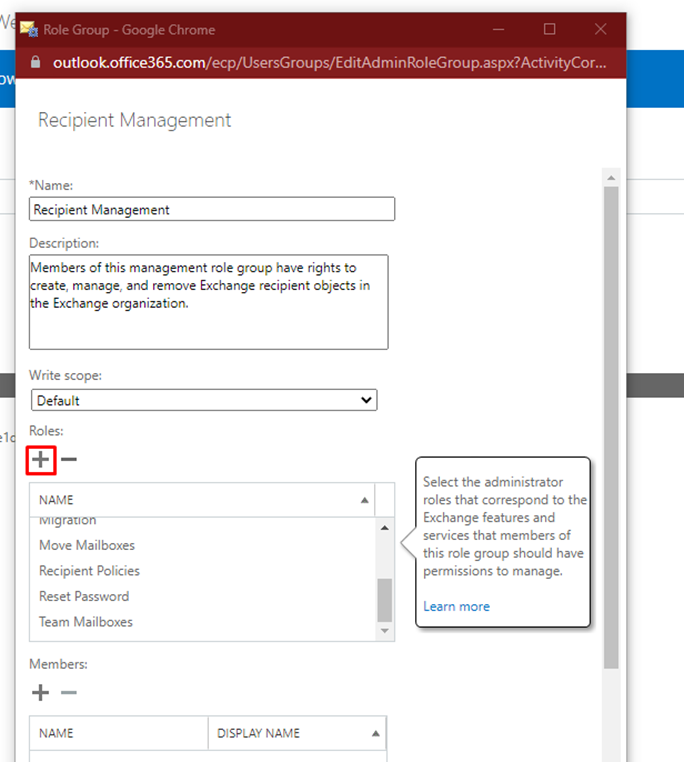
Select the ‘Plus’ icon to add a role:
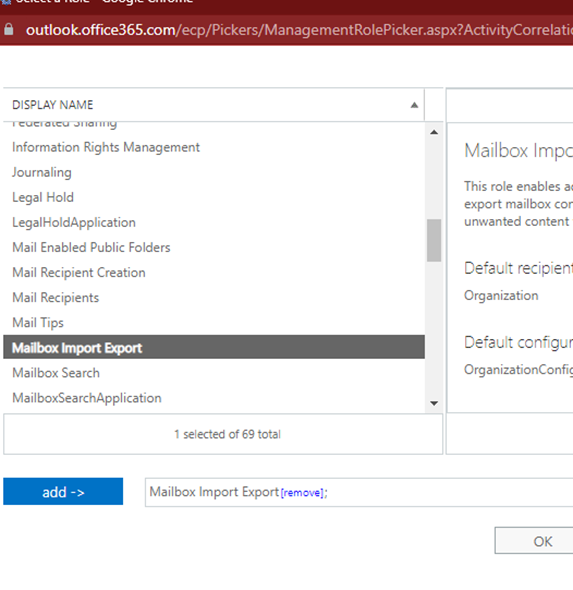
Scroll down and find ‘Mailbox Import Export’. Click add and then ‘ok’
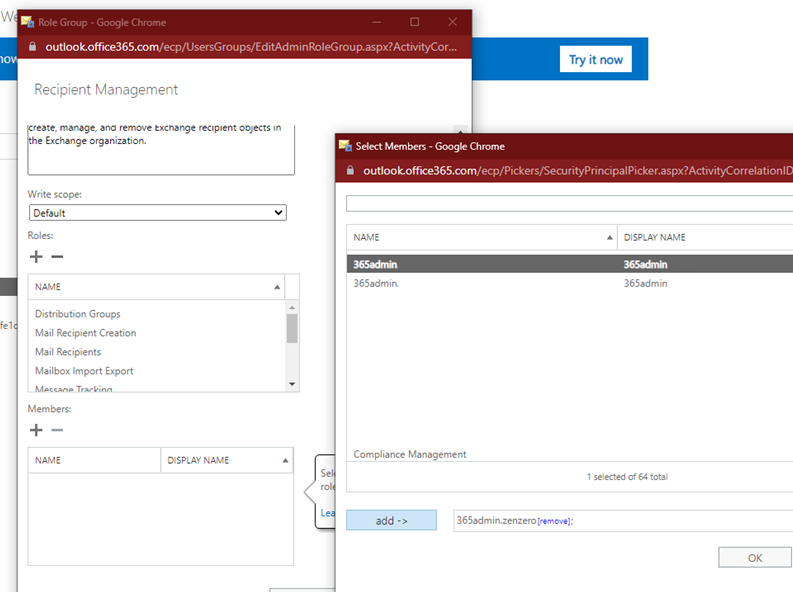
Back in ‘Recipient Management’. Under Members, click the ‘plus’ icon and add the admin 365 account. Then press ‘ok’.
Click Save
Log out of Exchange and log back in.
The Admin account will now have that role. It can take 24 hours for it to apply in order to use the ‘Mailbox Import Export’ features located in the link below:

https://compliance.microsoft.com/informationgovernance?viewid=import
Reference:
Migrating PST files to Exchange using AzCopy:
Make sure that the PSTs you choose to upload using AzCopy are closed before hand on the user’s Outlook.
Go to the User’s Outlook. On the left panel where you can see the list of each inbox. Right click the name of the inbox and select ‘Close’.
Go to: https://compliance.microsoft.com/
In the left pane of the compliance portal, select Data lifecycle management > Microsoft 365 > Microsoft 365 > Import. On the Import Tab -> + New Import Job
The job name must in lower-case.
Show Network Upload SAS URL. Make sure you have it copied to clipboard and save it somewhere for later. This is required several times.
Download AzCopy on the device where the PST files are stored/can be accessed.
• Download link: https://learn.microsoft.com/en-us/azure/storage/common/storage-use-azcopy-v10
Unzip AzCopy
Create a folder on the C Drive called ‘azcopy’.
Copy and paste the executable file named ‘azcopy.exe’ into the folder you just created.
We now need to change Window’s environmental variables so we can execute Azcopy.
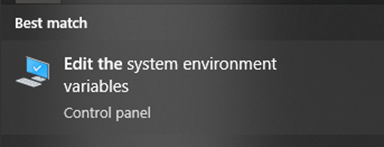
Start Menu -> Enter: ‘Edit the System Environment Variables’
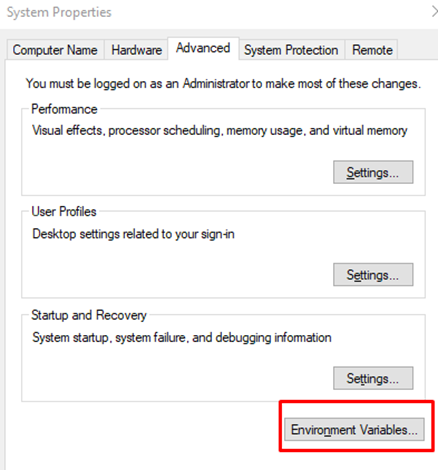
Then select ‘Environmental Variables’
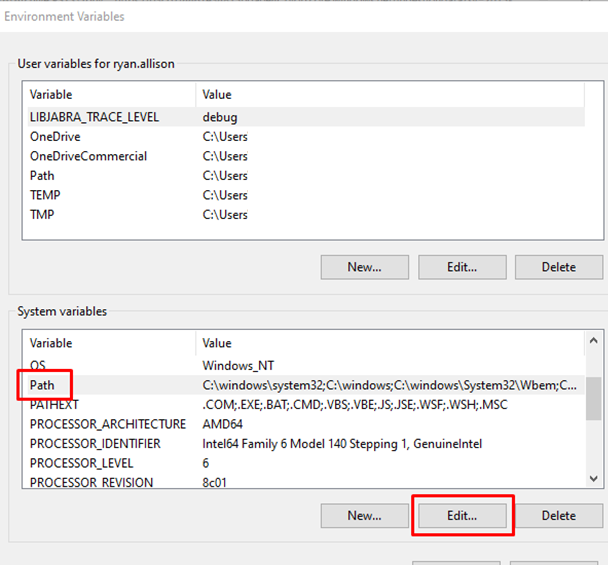
Under ‘System Variables’. Scroll down till you find the variable named ‘Path’. Select it and then click on ‘Edit’
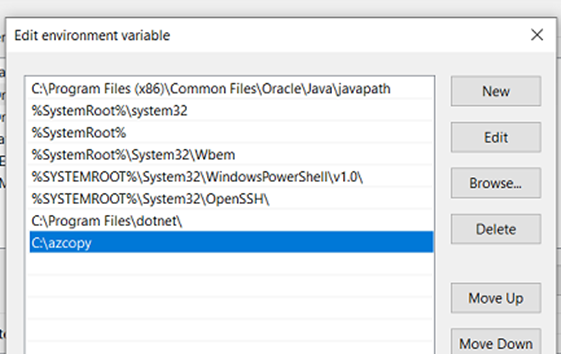
Select ‘New’ and enter ‘C:\azcopy’
This means we can now execute AzCopy within an elevated Command Prompt (CMD)
Open a notepad and fill in the CMD line below:
azcopy.exe copy “\FILESERVER\PSTs” “EnterSASURL”
If not grabbing location from a server, enter local path.
Open an elevated Command Prompt.
Copy and paste in your CMD line.
Note: If you receive the error: ‘failed to perform copy command due to error: failed to initialize enumerator: cannot use directory as source without –recursive or a trailing wildcard (/*)’. Then add –recursive to your CMD line. See example below:
azcopy.exe copy “\FILESERVER\PSTs” “EnterSASURL” –recursive
After scanning, it will show an increasing percentage till it has uploaded.

Note: I noticed that this got stuck twice when uploading. When I selected the command prompt and hit enter. It caught up. Progress display must mistakenly freeze during the progress. Possible bug.
Once the upload has been completed. We need to verify if it has successfully been completed.
We can do this through ‘Azure Storage Explorer’
Download and Install: https://azure.microsoft.com/en-gb/products/storage/storage-explorer/
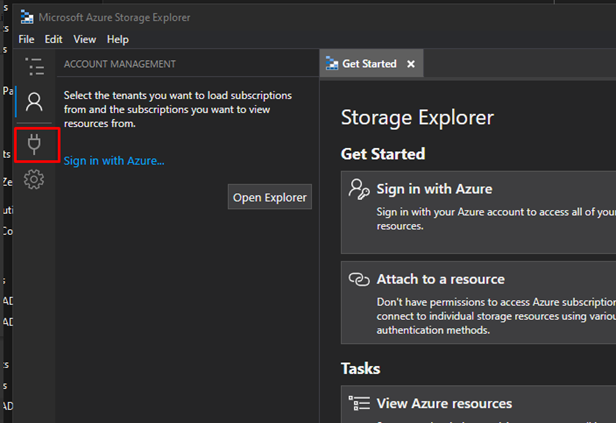
Once install, open Azure Storage Explorer.
Select Resources on the left panel. See below:
Under ‘Select Resource’. Select ‘Blob Container’. See below:
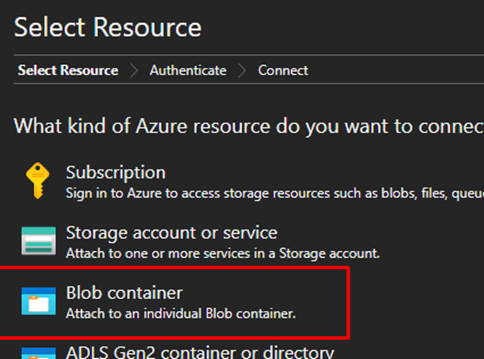
Then select ‘Shared Access Signature URL (SAS)’
Copy and paste the URL unto the ‘Blob Container SAS URL’ box.
That URL will then generate a display-name. Click ‘Next’. Then Click ‘Connect’.
If you have decided to upload multiple PSTs. You might see a folder beforehand that you have uploaded which stores the PSTs.
If you have just uploaded one PSTs. You will only see the one PST. It may be in a folder if you uploaded it with a file path.
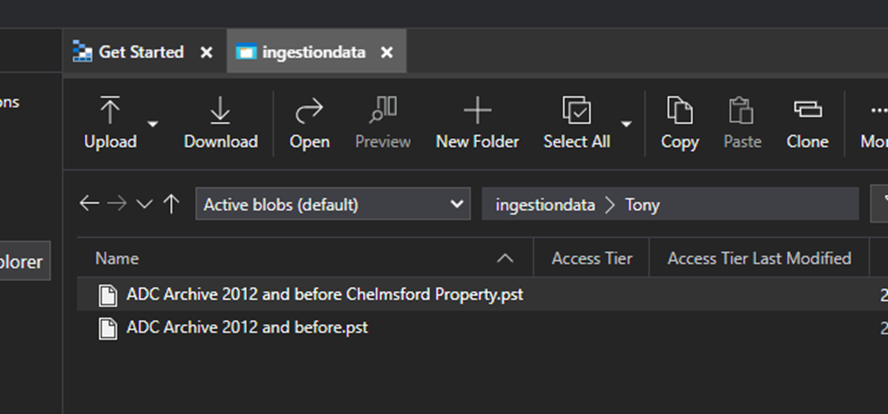
If you see your PSTs successfully appearing within the Azure Storage Explorer, then it is safe to assume that they have been uploaded with no issues.
We now need to design a PST import mapping file that will be imported to Import job. This will point the content of the PSTs files into specific mailboxes. It will also give the import some key pieces of information. For example, file path.
Head to Step 4 of the link below:
Download a copy of the PST Import Mapping file and open it. See link for full description of parameters.

• Workload: – Leave as ‘Exchange’. We are going to import the PST files into a User’s mailbox
• Filepath: – This specifies the folder location in the Azure Storage Location that you uploaded the PST files to. I entered mine as ‘Tony’ based on what I saw in the Azure Storage Explorer.
• Name: – This is the PST files name. It must THE same. Capital letters and all.
• isArchive: – If you wish to import the contents of the PSTs files to the user’s archive, put this as TRUE.
• TargetRootFolder: – This is the mailbox that you are going to import the PST files into.

This is the Map file I used.
I also created a Shared Mailbox specifically to import these PST files into to avoid clutter in the main user’s mailbox.
Go back to the Compliance page where you created an Import Job.
Tick both boxes that say:
• ‘ I’m done uploading my files ‘
• ‘ I have access to the mapping file ‘
Click Next.
Import the Mapping File and select ‘Validate’.
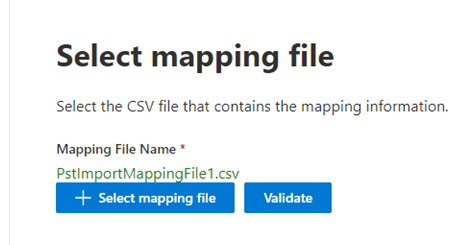
The text will turn green if it validates correctly.
Continue selecting ‘Next’ and then ‘Submit’ It will take you through the review page where you can see if it was successful.
It will then go through a anaylsis process. You can view the progress of the imported job under ‘Data Lifecycle Management’ on the compliance portal.
Once the Import states that the Analysis is completed, select the Import Job and click ‘Import to Office 365’
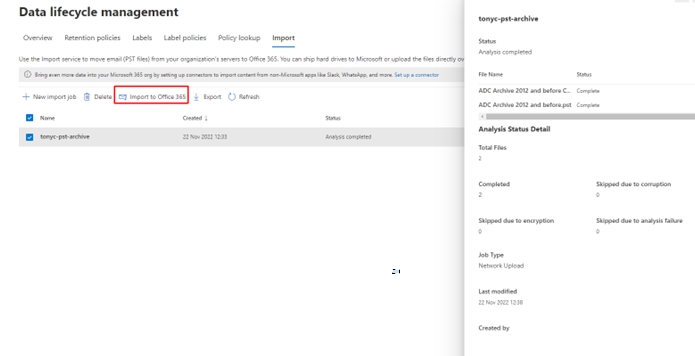
Select if you want to import everything or archive older emails.
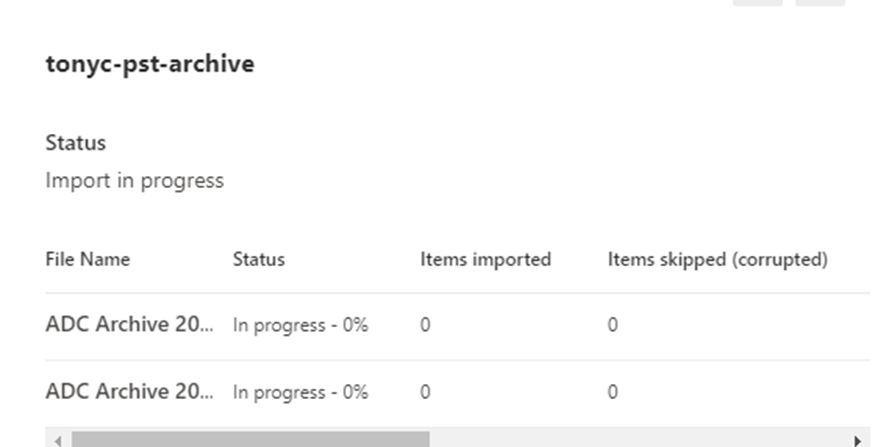
You can then select the Import Job again to see the progress of items imported.
Once imported, go onto the user’s machine and check that the Shared Mailbox has added. There will be a folder named ‘Imported’ where the email contents of the PST has been added.
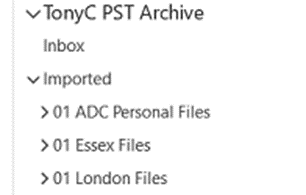
You have successfully migrated a PST file to Exchange.
References:
• https://learn.microsoft.com/en-us/microsoft-365/compliance/use-network-upload-to-import-pst-files?view=o365-worldwide#step-1-copy-the-sas-url-and-download-azcopy
• https://stackoverflow.com/questions/66200369/azcopy-failed-to-perform-copy-command-due-to-error-cannot-use-directory-as-sour
• https://www.youtube.com/watch?v=ZLPQRJZEo_E (Timestamp: 1:15 to 2:58)
![]()