Multifactor Authentication is also known as ‘two-step verification’.
This is a security process where a user applies two different authentication methods in order to verify themselves when logging into their account.
The first step is your password. After entering your password, you might get asked to verify yourself through another method. The second step can vary:
- You might receive a text with a code which needs to be entered before you can sign in.
- Biometrics may be used as an additional method. For example: Fingerprint.
- Approving your sign-in session through an Authenticator Application.
We will be using the Microsoft Authenticator. This guide will highlight how to set it up.
This helps to protect you against malicious third-parties that would want to break into your account.
- Brute Force Attack. This is the trial-and-error attempt to gain access to user accounts. This is done by automated software that respectively try hundreds of likely passwords in hope to gain access to an account.
In the event that your password was compromised, they would not be able to get into your account without verifying themselves through the second step in Multifactor Authentication.
Please also make sure that your password is appropriate and secure. See below:
- Minimum of 10 Characters.
- Use of Numbers.
- Use of Capital Letters.
- Use of Special Characters. I.E: ‘@’
Please Note: Your organisation might have Multifactor enforced. If you are a new user, your account may be locked within several days if you haven’t yet setup Multifactor Authentication.
How do I install the Microsoft Authenticator?
Make sure that you have the Microsoft Authenticator installed on your phone.
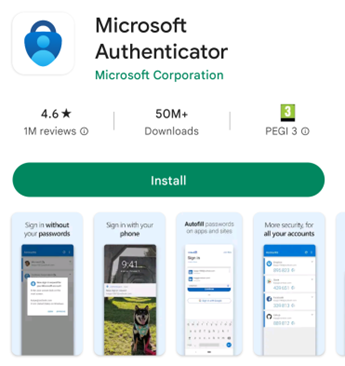
For Android Users: Go to the ‘Play Store’ – See the Icon below

In the search bar, enter ‘Microsoft Authenticator’. Select ‘Install’.
For Apple (IOS) Users:
Go to the ‘App Store’ – See the icon below:

In the search bar, enter ‘Microsoft Authenticator’. Select ‘Install’
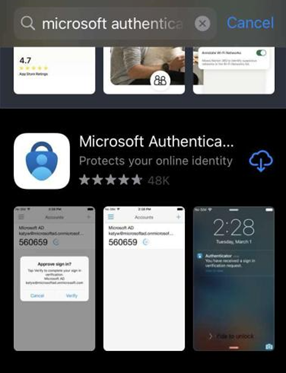
Note for Apple Users: Instead of ‘install’, it might say ‘Get’.
How do I set up the Microsoft Authenticator?
Make sure you are at a Desktop or a Laptop.
Open the link below:
You will be asked to sign-in. Sign in with your work-issued email address and password.
Note: If you are a new user and MFA is enforced, you may receive this prompt after signing in:
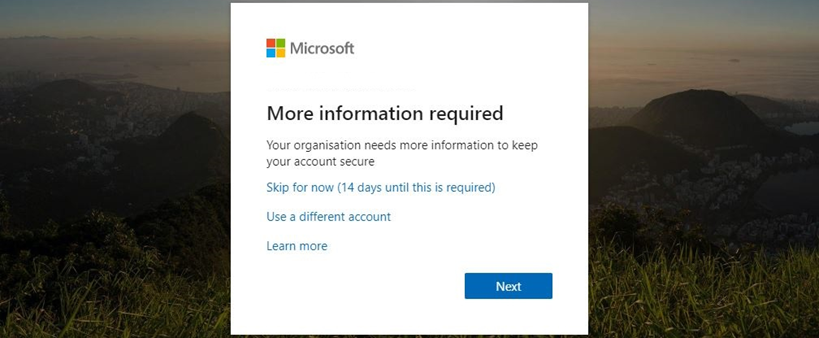
If this is the case, select ‘Next’. You will be able then be able to select the Authenticator App as a method. Steps below as still valid for setting up the App.
After signing in, this will take you to the Security Info page regarding your account.
Select: ‘Add sign-in method’ – See below.

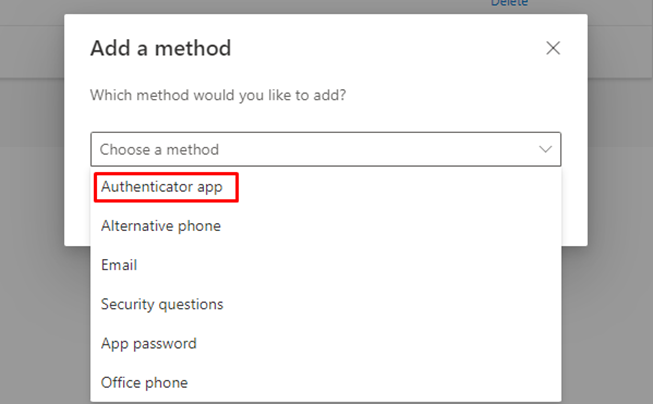
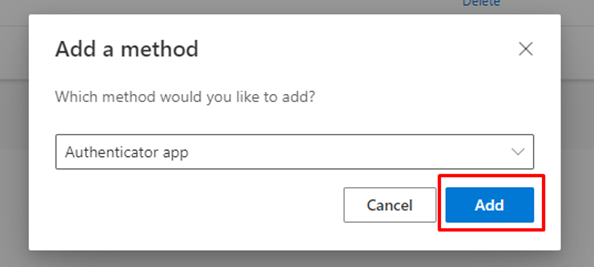
Select ‘Choose a method’ and select ‘Authenticator App’ – See below.
Then click on ‘Add’ – See below.
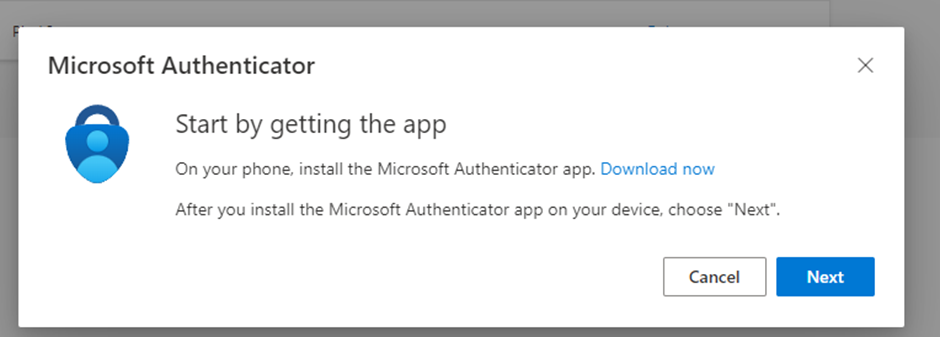
Then click ‘Next’:
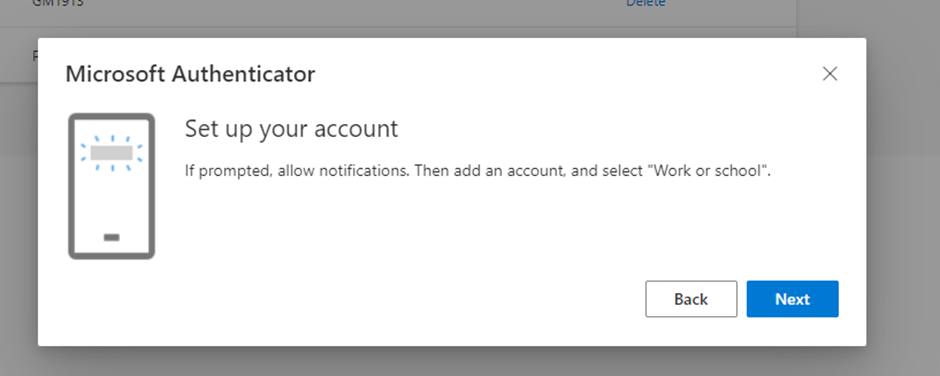
Then click ‘Next’ again:
A QR code will then appear on your screen. See below:
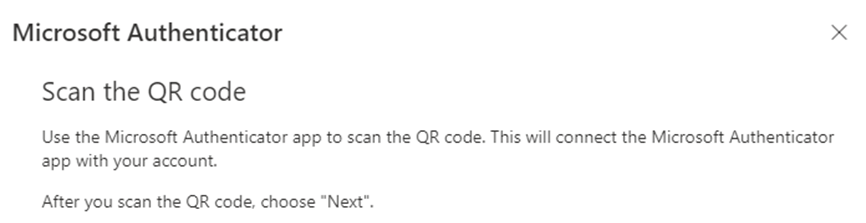
Go to your Mobile device and open the ‘Microsoft Authenticator’ application.
For Android Users:
You should see three options. One of them including ‘Scan a QR code’. Select that and scan the QR code on the screen.
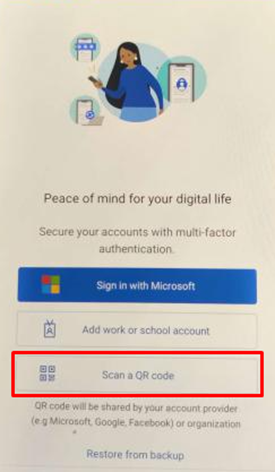
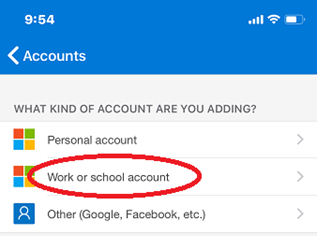
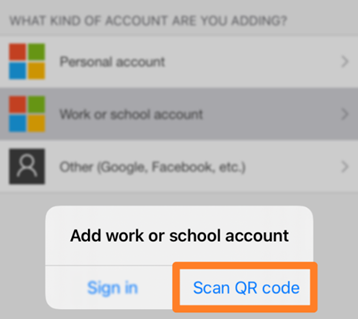
If not, select ‘Add work or school account’ and then select ‘Scan a QR code’
For IOS Users:
Select ‘Add work or school account’ and then select ‘Scan a QR code’. Then scan the QR code on the screen.
After you have scanned it, it will have added the account to the Microsoft Authenticator App. Click ‘Next’ after scanning the QR Code.
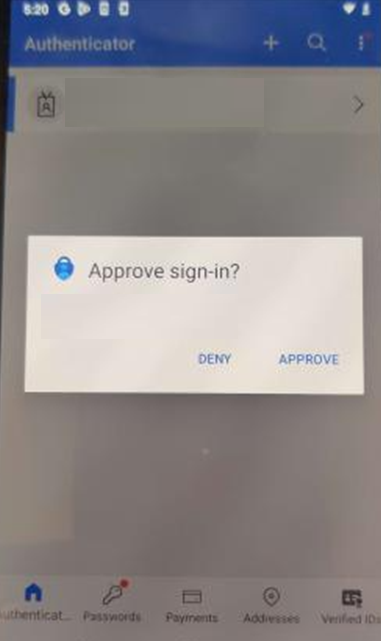
It will then send a ‘test notification’
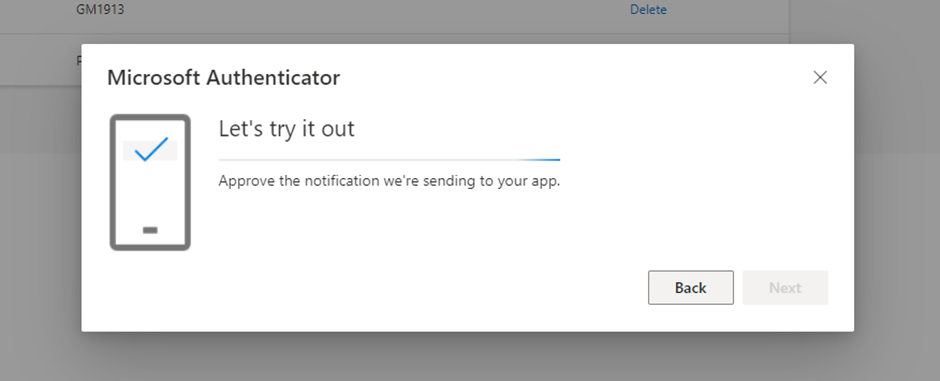
A request will then appear on the app. Select ‘Approve’
You have now setup the Microsoft Authenticator App. Congrats! 😊
Update: New MFA may ask you to enter a code presented on your screen. Same method of setting up MFA but approving access is different. Your organisation may keep the legacy approval.
![]()